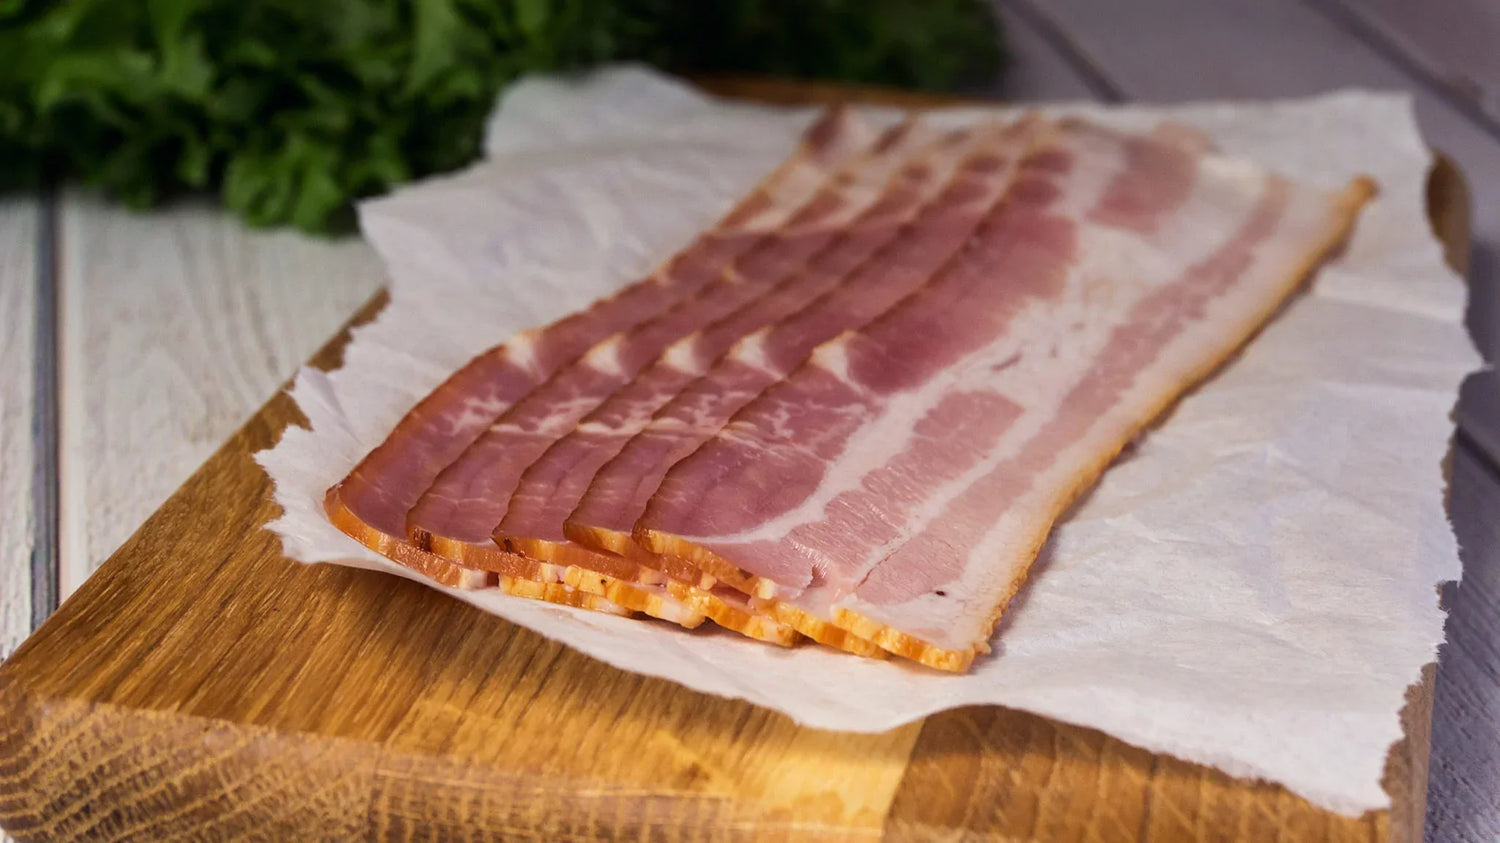
Long before fridges were invented, people used smoke to dry and cure their foods. New technological advances have since been introduced to the kitchen, but the age-old practices are still the premise upon which the current cold and hot smoking of foods are based. Cold smoking is popularly used in bacon and seafood preservation.
So, what exactly is cold smoking? Technically, it is a method of preserving food before actually cooking it. It allows you to remove excess water from your bacon and lets it absorb flavorful smoke.
It’s important to note that cold smoking is generally a lengthy process, but it’s worthwhile when done well.
Let’s jump right in.
How to Prepare Bacon for Cold Smoking
1. Select the right cut
You have two choices when it comes to picking the right cuts of bacon: the shoulder or the belly. Shoulder meat is leaner, while the belly has more fat and is crispier. Whichever you use, you can always trim off any excess fat.
Another factor you should consider is the age of the meat. If you are buying the meat from the store, it’s a good idea to look for meat whose origins you can trace.
Before anything else, make sure you weigh and note the weight of your bacon. Ultimately, its weight change will determine when the meat is done during the smoking process.

2. Start the curing process
There are two main ways of curing bacon: using brine solution or curing with dry salt. If you opt for the first method, you’ll need salt, sugar or molasses, and water to prepare the solution. You could add other seasonings, too, if you wish.
Note that the amount of solution will depend on the size of your bacon strips. Our advice is to prepare enough solution to fully submerge the bacon.
Once it’s ready, place your bacon strips in the brine and keep them in the fridge for at least a week. Ensure you turn the bacon periodically to guarantee it’s evenly soaked.
Curing with dry salt is faster. All you need to do is mix all the ingredients and apply them evenly on every side of the bacon. Wrap it in plastic and place it in the fridge for at least a week. Again, ensure you flip it periodically during the week to ensure even curing.
Check out our entire catalog of articles on brining and curing your meat here:
What’s the Difference Between Pickling, Brining, Marinating, and Curing?
Curing and Smoking Meats for Home Food Preservation
Directions On Brining And Curing Your Meat For Food Smoking
3. Wash and dry the cured bacon
After the curing process is over, remove your bacon from the fridge and clean it thoroughly to remove the salt. Leave it in water for a few hours, then rinse it and pat it dry.
Place it back in the fridge, uncovered, to dry it further. You can do this for a few hours or up to a week until a sticky coating forms on the outside.
The Cold Smoking Process
Once the bacon is ready, you need to set up the perfect spot for the next stage. Remember, the aim is not to cook but dry the bacon. The temperature and humidity in your spot will determine how well the next part of your process goes. The cold smoking process works best with a temperature range of 55 and 85°F (13 and 29°C).
1. Equipment
For a great cold smoking experience, you need a high-quality food smoker, ideally one with a cold smoke adapter kit. Ensure you set up your food smoker in a cool and dry place.
Also, ensure your smoker has racks that allow for good air circulation. Place the bacon in a position where the air naturally circulates to avoid ending up with bitter or charred meat.
In seasons where the temperatures are too high during the day, you could opt to do your cold smoking in increments during the night.
You will also need an instant meat thermometer to keep track of the temperature. To get the correct reading, insert the tip through the side of the bacon to the center. It shouldn’t come into contact with bone or fat.

2. Wood choice
One advantage of cold smoking to prepare your bacon is the flavors absorbed from the wood you use in your food smoker. Every pro-food smoker offers various choices.
The Bradley Smoker offers a great variety of fruitwoods whose flavors are mellow. You can still use the stronger woods, however, but it’s good to note that your bacon may end up being bitter due to the lengthy process.
The final flavor of your bacon will depend on both the bisquettes used and the time taken from start to finish. A good trick is to mix the wood types carefully to ensure you get a balanced flavor.
How Long Should the Cold Smoking Process Last?
Like we stated at the beginning, weight loss will determine to a great extent the doneness of your bacon. The ideal goal is to lose 20–30% of its original weight.
Either way, it’s recommended that you let it smoke for at least 6 hours.
After Smoking
Once you are done with the smoking process, wrap your bacon in plastic and let it rest in the fridge for at least a day to allow it to soak in the flavors.
Here are some recipes that you can try out on your Bradley Smoker:
Wet Cured Smoked Bacon Recipe
Smoked Cured Bacon on a Stick Recipe
Smoked Canadian Back Bacon Recipe
For more great ideas on how to get the most out of your Bradley Smoker, check out the awesome articles on our Bradley Smoker Food Smoking Blog for more tips & tricks.


